When you’re going somewhere as incredible as Kilimanjaro, you want to make sure you have great photos to show for it. But as you’re going to be packing a lot into your day pack as it is, you might not want to bring a heavy camera with you. Luckily, you can capture some fantastic shots now using only your phone. If you’re wondering how to take great photos on Kilimanjaro on your phone, this guide is for you! If, however, you want to take your proper DSLR and capture some incredible shots, our guide by the amazing photographer Brendan Hynes is here.
How to take great photos on Kilimanjaro
Nowadays, we’re lucky that the cameras on our phones are pretty damn good. Often, their intuitive technology means that they can capture shots that look super slick, and hold their own against the best cameras on the market.
If you are confident in your phone’s ability but want to know how to make the most of it, there are a few tricks to keep in mind.
Shoot away from the sun
When you’re climbing Kilimanjaro, the sun can be incredibly strong and the skies a gorgeous shade of bright blue. But you’ll only capture these bold and vivid colours if you shoot away from the sun. If you shoot into the sun, the colours will all bleach out. This is particularly true if you’re taking a photo of a person. The features of their face will be in the shadow. Instead, simply turn yourself in the same direction the sun is shining, and your shot will be much better.
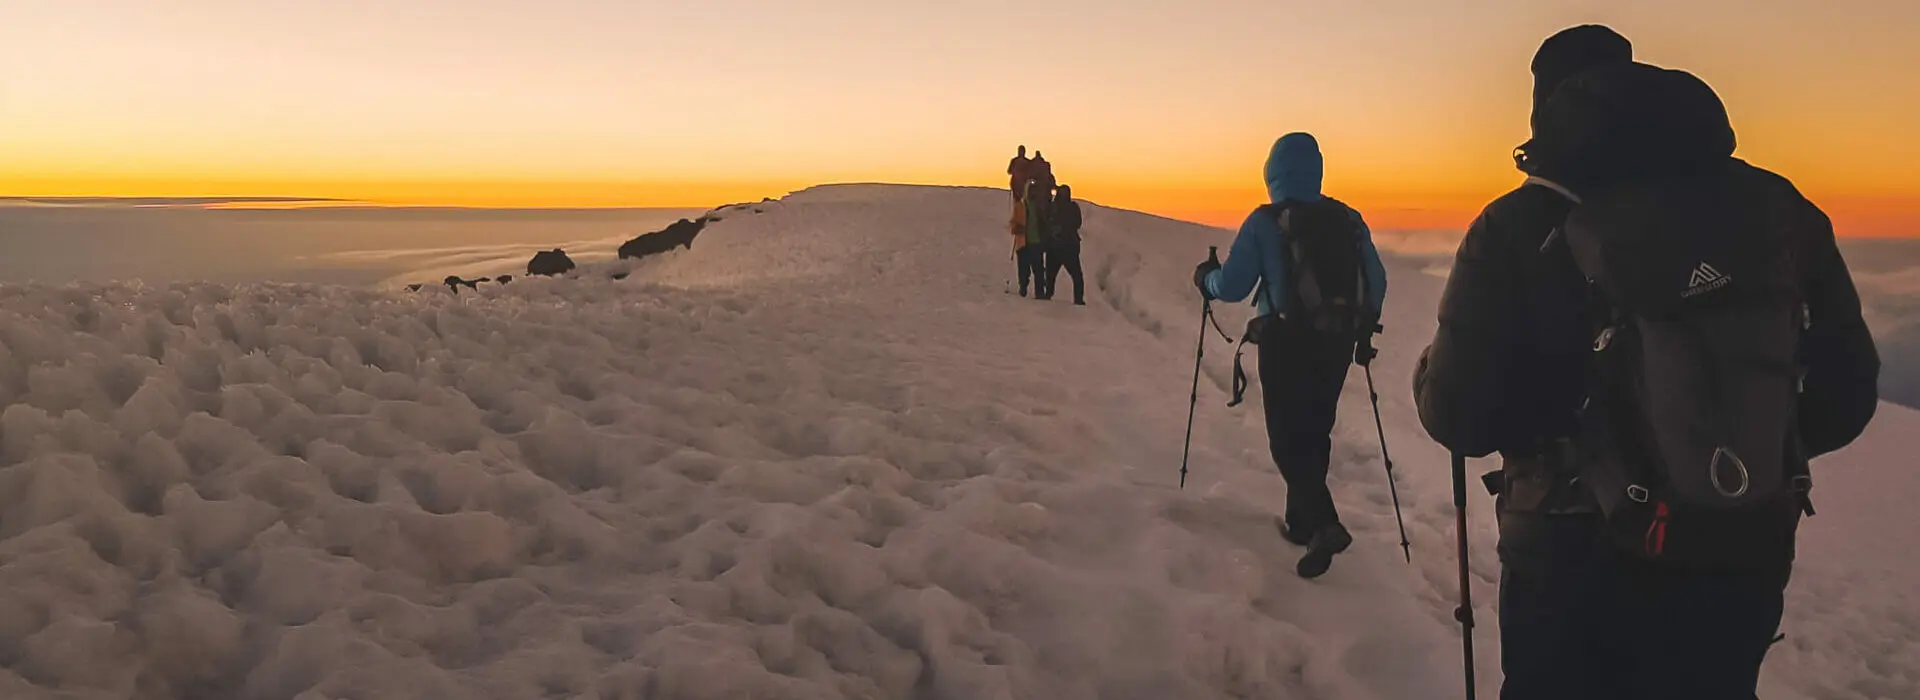
However, sometimes rules are made to be broken. You can get a gorgeous photo of sunshine splitting through a shot, leaving the people vaguely in silhouette. The image below is the perfect example.
Avoid shooting at midday
At this time of day, the sun is directly overhead, so the light is either too strong for landscape shots, or too harsh for a portrait. This can also blow out the colours, and give everything a harsh light. Give it a few hours either side, and the colours of your photograph will be much nicer.
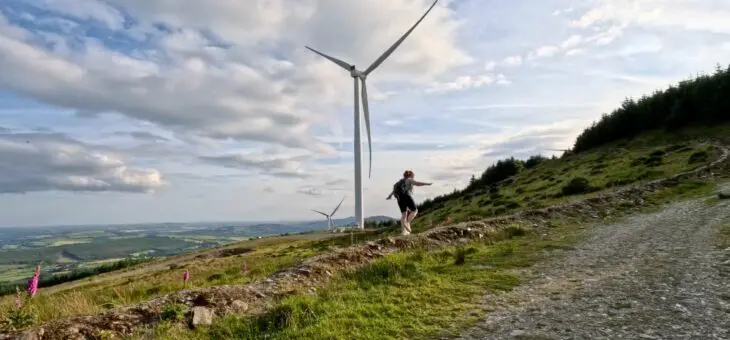
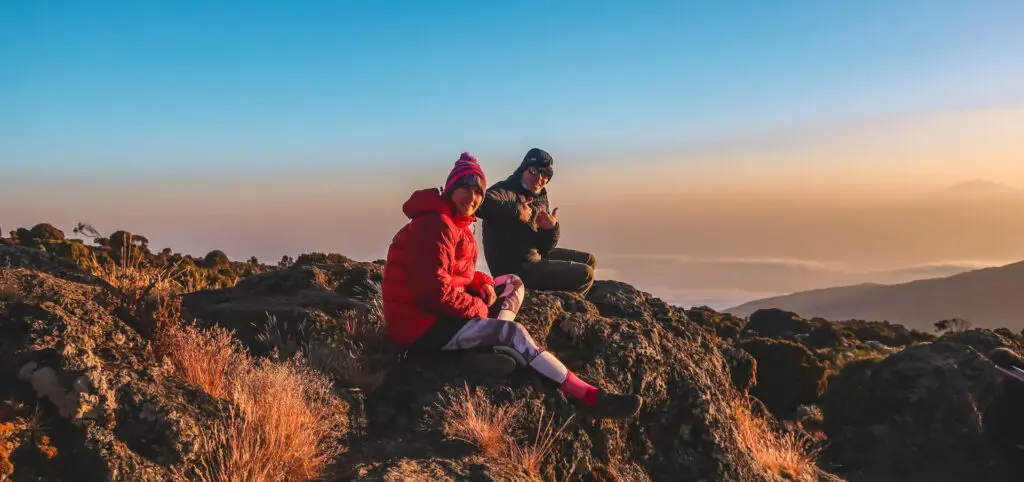
Think about the foreground
Landscape shots can be notoriously tricky. You can be standing in one of the most spectacular places on earth, but as soon as you try to take a photo it all looks rather bland and flat. Landscape shots are some of the trickiest to pull off, but there a few little tricks to help. Try and get a bit of foreground into the shot, for scale. An interesting rock or even a person can help to capture the scale of what you’re looking at. Getting someone to sit on a rock in the front of the shot is one of the best methods. Obviously, we mean on a safe rock!
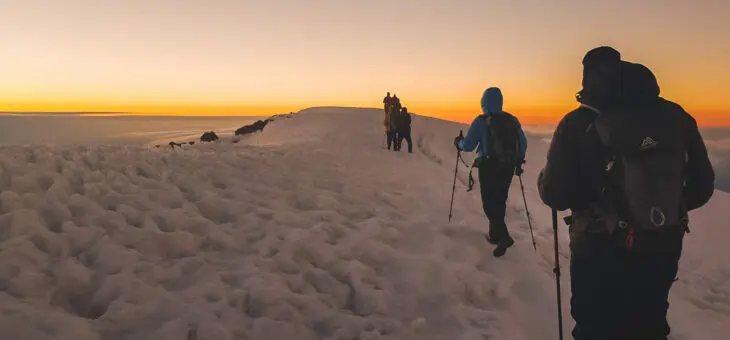
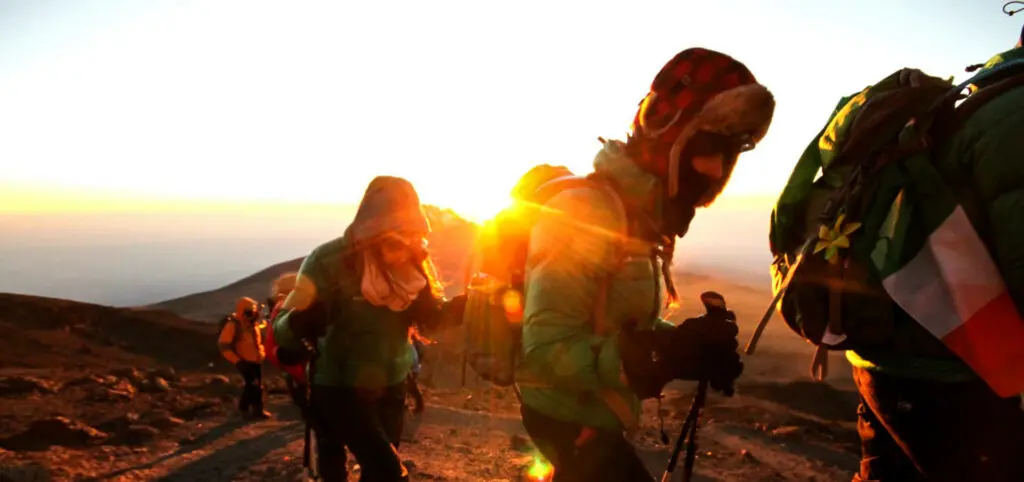
Shoot at magic hour
We often start our treks nice and early in the morning, which is great news for photographers. Magic Hour is the hour after sunrise and before sunset. This is when the lights and colours of nature are at their most beautiful. Get a picture of Kili when it’s partially shrouded by mist and cloud, or a picture of yourself lit with these beautiful colours, and you’ll see what we mean.
Remember the rule of thirds
When it comes to photography, there’s a very simple trick that almost all photographers stick to. When you’re composing a photo, divide the frame into three – either horizontally or vertically. You want the focus to be on one third, with two thirds left as background. For example, if you’re taking a photo of someone, don’t put them right in the middle of the shot. Put them to the right or the left, and leave the rest of the frame as scene-setting background. You’ll be surprised at the difference it makes.
Ask permission
You’ll often find that a lot of people along the way are happy to have their photo taken, but remember to always be respectful. You must never take a photograph without someone’s permission. If you see a great shot of a trekker ahead of you, by all means try to get the shot, but tell them immediately afterwards and check they’re happy to use it. Chances are, they’ll be psyched and want it for themselves! But sometimes people aren’t happy being photographed, and it’s important to respect that. This is of course true of our porters, team and any locals you meet along the way.
Have fun!
The great thing about our modern day camera phones is that we can snap away to our heart’s content, with no fear of running out of film or memory in an SD card. Make sure you have plenty of room on your phone to start off with, and delete any shoddy shots in the evening. There’s nothing worse than finding the perfect photo opportunity and realising your memory is full.
If you’re going on safari…
If you’re heading on our safari after the climb, bear in mind that you’ll probably need a DSLR with an excellent zoom lens to get good photos. Phones can work well if the animals get really close. But to really get a great shot, you will need a zoom lens. If this isn’t something you have, or want to bring, then give it your best shot, but don’t be disappointed if the photos aren’t amazing.
But here’s the plus side… if you’re focusing all your energy on what’s happening in front of you, the memories you’ll take home will be a million times better than any photos you get. Sometimes, it’s best to put the phone away and take it all in with your own eyes.
So that’s how to take great photos on Kilimanjaro! Have you gotten any great shots on a Kilimanjaro trek? Tag us in on @earths_edge and let us see them! You can read all about our Kilimanjaro trek here.